|
For our current unit for AGAD, we had to put together our fire hydrant and outpost that we made in the last quarter along with our level in Unity.
Sounds really basic, but this is actually kinda cool in my eyes, since this is pretty much what assembling a video game is like. Just another step in the game design process we actually get to put our hands on. The problem is that is takes a lot of work, miss one piece and the whole thing just looks off. I already learned this the hard way from the Outpost Project, I didn't get to put a texture on my water tower so it's just looked really really out of place amongst the wooden beams and concrete towers. Which also comes to another problem that is mostly my fault... I didn't make the fire hydrant. This comes back to the whole structure of the GAD class that makes it a little unbearable. The additive style of projects makes it so if you miss one piece, you're going to have to make it up in some way. You have to be doing them anyway, but you can't really get them all so you're stuck in a weird place sometimes, thank god Mr. B is pretty chill on some things. Trying my best not to go more off a rant right now, so I'll just say that we're doing more real work for game design.
0 Comments
So for the first unit in Advanced Game Art and Design, we are tasked with making an asset in 3DS Max for one unit, on our personal computers. This is quite the predicament since I have some personal issues with my computer, but it does seem quite detrimental for game development.
The reasoning is that the game we will probably make is most likely going to be made 3D, not 2D as I planned. Since we're starting out and we only have less than a school year, not enough to make a couple detailed sprites and interfaces. 3D allows us to make a more finished looking game, since we can use unity assets and just placing them for the time being. So unfortunately it is a necessary evil to go on. But, if it does turn out to become just studying for the unit 1 test, then the should be enough, as knowing the information to assist my team in their endeavors (since they 3DS Max working properly) then we'll still be golden. Next year we are taking AGAD and I am very excited for what we will be doing group oriented work and bigger projects. All the skills we have learned over the years, with 3D software, digital editing, and coding all come really come together this year. Even despite the quarantine, virtual communication will be how we manage and check up on each other (if we check up on each other since we're still not in school). Along with the fact we have made video game concepts during the past school year. We are all set to make our very own games, for real this time. I feel that we can all come together because of how close we are, we were selected from the only people that bothered to continue with this CTE pathway. We're all doing what we usually do in therms of teamwork, we just have to put more in as we finally help each other out and communicate in a big group project. This year's group focus is what will be our strength for succeeding for this year, as we are close friends and are willing to work together. AGAD will be full of a bunch of like minded people that aspire for game design
 Here's to Another Year “Digital Arts Classes.” MR. BOURGEOIS - DIGITAL ARTS: GAME DESIGN, DSA, mrbourgeois.weebly.com/digital-arts-classes.html.
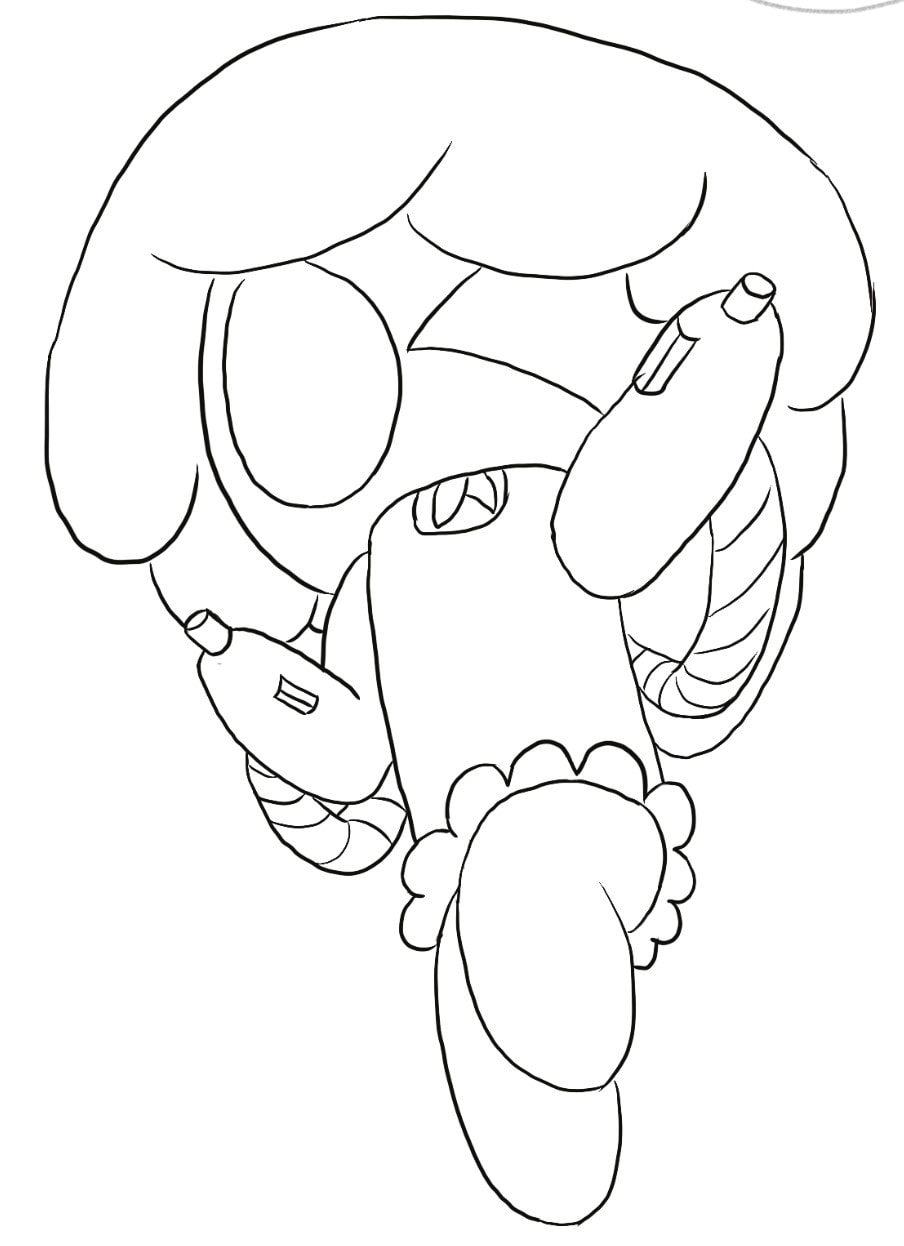
After making a Game Design Document, you can now start building a piece of your game to show how the rest of the game will resemble. This is an extension of what a prototype is, since we are actually making one these last weeks until winter break.
This piece is a prototype, the first true incarnation of your game. It is a essentially board, with pieces to represent items and figures. This is very similar to an actual board game, although it may have rules that aren't bound to a board, like free movement, it's purpose is to represent a concept before any actual "work" is put into what will be the final game. This prototype will be very, very simple, since if you've already had a very clear idea planned out in detail that you know will work, then why make the prototype? But, such a thing doesn't exist, this is the where you can go back to really iron out issues you may or may not have know you have. Simplicity is key to fixing your game's foundation, with a strong foundation you can build anything out of it. The board and pieces aren't too fancy either, basic shapes that represent environments, along with figures (which we 3D model ourselves) that should be simple and to the point, to keep a very clear idea and to prevent it from taking literal days to print out. These pieces are very fun to play with, which is the point (cause it's a game). Next, the concept should be just as simple, not even the length of a full level (or whatever segments gameplay is split into). This helps to give an example of what your figures would do on the board, reinforcing the strong foundation. In the end, it's a landmark in development to have a concept that could work in this stage of pre-development, it's practically development at this point. This is what separates your game from a passing concept to a real project, very fine achievement. GAD year three has many differences with previous year, since it focuses on actual game design instead of learning how to use digital design tools in 3D and 2D. This will make it much more based on our own skills from those two years, along with what new tools in game design we learn. Making the already fast paced and individual activities we already had, and put it on and even faster schedule, along with more diverse projects that each of us would have. Expectations will be harder, but the difference between this year and each other one is how we could potentially use the new information we got, since it's more direct in game development, it should be much more fun compared to our little projects in the first two years. The fact we can actually do more game related projects and assignments is the best thing to look forward to, since it's what most people, including myself, signed up for in the pathway. The projects from previous years are meant to gear us towards game oriented assignments. But, with the experience and expectations from previous years, since the drop off of freshmen and sophomores has happened, we (hopefully) aren't in over our heads. So, what did we learn from previous years?
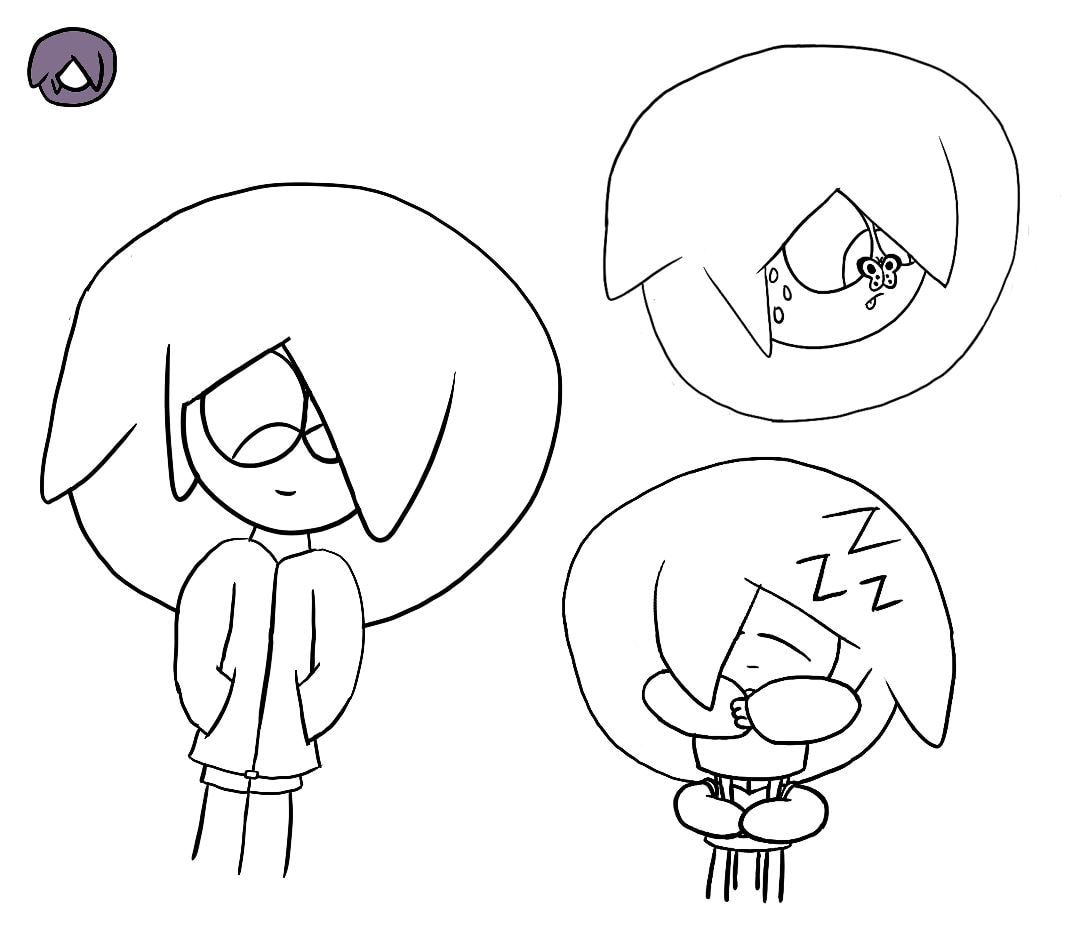 Recent Piece Made
DDA II was mainly focused in 3D Modeling, this made it much harder to adjust from last year, but wasn't just being thrown into the deep end. It was felt a lot in the beginning, and especially the second quarter, but has been overall pretty cool. Certain projects have put a damper on some of the activities, and have made this year a particular black mark, but most of them are on our faults, so this year has been what a class has been intended to be, a learning experience. The topics we discussed were important and were related to making certain shapes much more realistically shaped, rendering those shapes as best as they can, and making animations out of those shapes, all making pieces worth actually sharing, especially making the train station look as pretty as possible. Seeing growth artistically as pretty fun too, which is discussed more in another blog post, but since it's the year in review it counts to be mentioned. What also grew in this year is mainly how assignments are set up. This may seem small, but it saves a lot of time and effort for students and teachers. This starts with the Digital Asset Management Folder, the ultimate in digital management. Keeping everything in a folder, which is stored in a clearly organized folder makes it much easier to find and work on projects. This also helps in knowing where projects we will use again will be, like the train station or robot project. Grades have also been graded based on three categories, making mental organization of objectives in a project much more easy to remember, which would naturally make grades easier to understand as well. So, in all, the year was pretty cool, but had much more bumpy roads compared to last year. 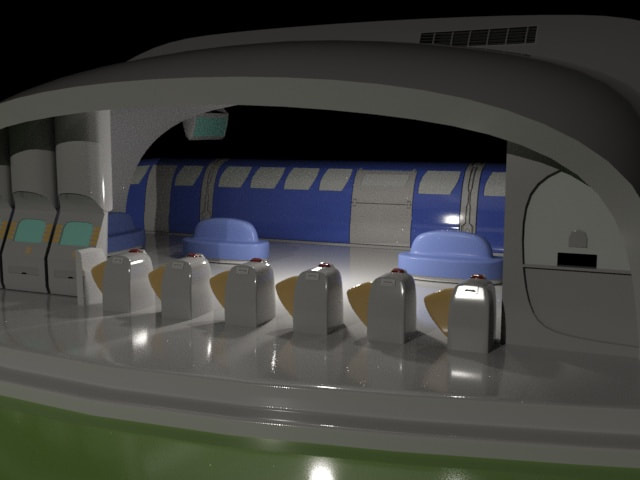 The Renders On The Train Station Was One Of My Favorites Of The Year
Animation and cameras go hand in hand, since both are needed to make any render of a moving subject be convincing. Since we already used cameras, we have been learning more about animation, not just the auto key from last year. We play around with the curves that an object makes when it moves, this is most applicable to a ball bouncing, the first object we really animated. We then had to apply our bounces to multiple objects. Animating a bounce requires the Curve Editor, a useful graph that shows the XYZ movements for an object. Cutting out certain frames can make a bounce less rail-like, and more natural, this is the base for our bounce.
Another technique we used is the rotation, a small change, but one that makes the ball look less like it's bouncing on a pathway, and more of a ball bouncing. Changing the rotation is only changing the axis of the ball at key frames, self explanatory, but it's the little touch that makes the animation much more convincing. The last piece is the Squash and Stretch, which is not as simple as either of the last two. It requires the use of the Stretch modifier, but can change at key frames in specific ways, with specific modifiers. If you want a ball to start and stop, then do it again differently, it will keep stretching in that way. But, in a perfect world, it helps in making the ball's bounces much more real. It may make the ball seem more cartoon-ish, but in a way that is feasible and appealing. So, in the end, what did we take from doing a bunch of activities based around a topic then doing a quiz afterwards?
Sources: “Animation.” Autodesk Support & Learning, knowledge.autodesk.com/support/3ds-max/learn-explore/caas/CloudHelp/cloudhelp/2017/ENU/3DSMax/files/GUID-FC0BE460-9BA8-4221-AEA6-ACB6ECA4AE9B-htm.html. Lax, Melissa. “3ds Max Animation Techniques | Tutorial Series | AREA by Autodesk.” Area by Autodesk, 20 Sept. 2016, area.autodesk.com/tutorials/series/3ds-max-animation-techniques-series/. I have already gone over lights in a previous post, but the fact we're using cameras which are drastically changed by lights helps to put a new purpose to certain lights. A new example would be directional lighting, which can either be free or directional. Free lights are good for any scenario that needs a light, but directional will work much better for certain shots. Cameras that rely on good lighting will need a directional light if it needs to arc around the subject. The Arnold Render is dependent on certain lights, particularly the Arnold Lights. They function like regular lights, but is one light that is set to be different lights, like Spot and Quad. Directing Cameras is really useful with Arnold Lights, giving scenes different emotions and feelings. There are also different camera settings that affect light, which relate more to the lighting than the camera innately. Having exposure change a scene's light input, while things like aperture change the brightness, also changing a scene completely. With lights and cameras having to work in tandem, understanding both is important in rendering convincing and realistic scenes.  Train Station made in an Arnold Renderer
It's the last quarter of the year, and we have had units that are a bit compressed. But, what we learned in the first couple weeks are pretty important, Cameras are the basis of having good renders and animations. You can't just render from the perspective of the view-port, Cameras help to have a view that can be more realistic or well composed than a simple perspective. Cameras also have setting that only physical cameras have, like Depth of Field and specific camera movements. Auto Framing with the camera is good in that it can use certain angles to get a good frame. It can also be set on different frames, which is useful for spacing out frames for different camera speeds. Changing the speed can be good for having quick, snappy camera movements, or slow panning shots for a model. This is useful for any camera movement in a video render. Combined with lighting, which is linked to cameras by the fact a physical camera needs proper lighting or it makes a blown out mess. Arnold lights work especially well, since Depth of Field only works with it, and how it can properly light a scene, combined with good camera movements. Cameras are useful overall for any render, to make it look more uniform and professional. 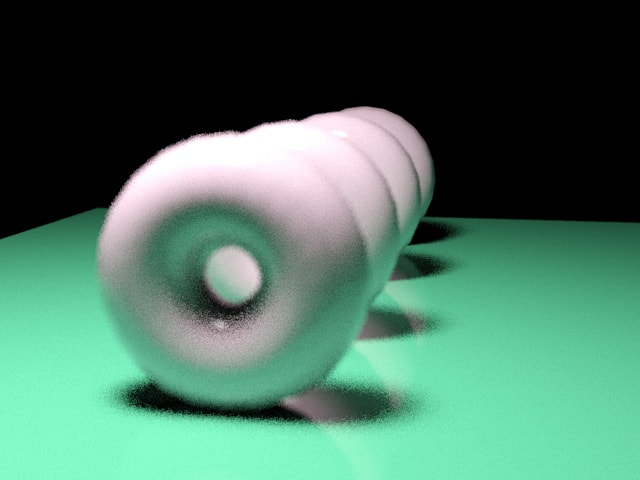 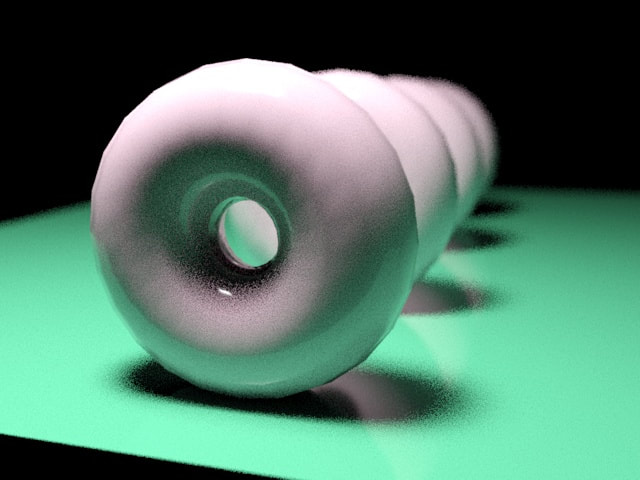 Cameras are useful for affecting the Depth of Field to put focus on a certain subject
This week back, we learned about a new unit that's a little different from previous units. The Lighting unit focuses on how a scene is affected by light, including shadows. The main part of learning about lights is realizing the types of lights used. There are spotlights, the lights that focus on shining in a cone, freely or in a specific direction, while directional lights are a straight beam to a point from another point. The other lights focus on lighting all multiple parts of a scene, Omni being the most straight-forward, by brightening all objects in a scene, akin to a light bulb. Skylight lights up an entire area, more accurately to the sun than an Omni. But Sun Positioner is for very, very specific positions of the sun. Each light has it's purpose, but the more useful ones are related to making a basic sunlight, like Omni or skylight. In some cases, a spot can make up for sunlight, but skylight just works for the most part. But, for clarity in a scene, using spots is really important. Setting up spots so they light a scene well is one of the many important roles of lighting in 3D modeling, second to making a convincing scene. We had to demonstrate this in class by little sample projects, which are ungraded but still required, which may seem like a weird idea, but it relies on primarily project grades. There are only three, and could mess up quickly, but are pretty easy for the most part. What Did We Learn This Week?
“The Standard 3-Point Lighting Technique.” Three Point Lighting, www.mediacollege.com/lighting/three-point/. “Skylight.” Autodesk Support & Learning, knowledge.autodesk.com/support/3ds-max/getting-started/caas/CloudHelp/cloudhelp/2019/ENU/3DSMax-Lighting-Shading/files/GUID-772D28D6-41C3-4C80-80AD-3774726E208F-htm.html. 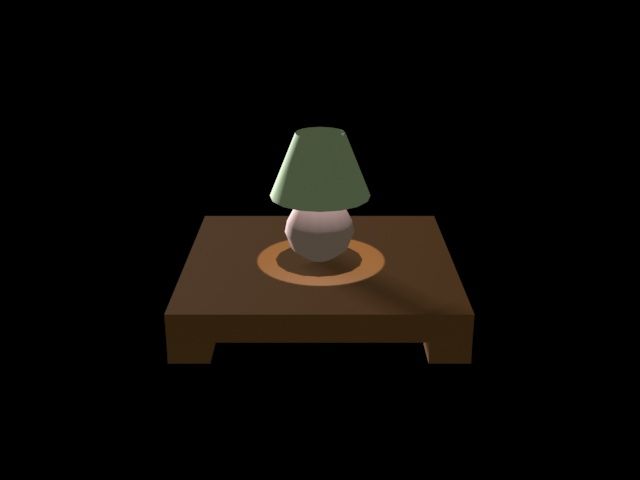 This Image Uses Three Lights, A Spot For The Directions, One in the Lamp, And A Subtle Omni To Tie It All Together
|
JamesHe aspires to be a game designer, let's just hope he gets there. He also happens to goes to DSA. Categories
All
Archives
August 2021

|
