|
I have already gone over lights in a previous post, but the fact we're using cameras which are drastically changed by lights helps to put a new purpose to certain lights. A new example would be directional lighting, which can either be free or directional. Free lights are good for any scenario that needs a light, but directional will work much better for certain shots. Cameras that rely on good lighting will need a directional light if it needs to arc around the subject. The Arnold Render is dependent on certain lights, particularly the Arnold Lights. They function like regular lights, but is one light that is set to be different lights, like Spot and Quad. Directing Cameras is really useful with Arnold Lights, giving scenes different emotions and feelings. There are also different camera settings that affect light, which relate more to the lighting than the camera innately. Having exposure change a scene's light input, while things like aperture change the brightness, also changing a scene completely. With lights and cameras having to work in tandem, understanding both is important in rendering convincing and realistic scenes. 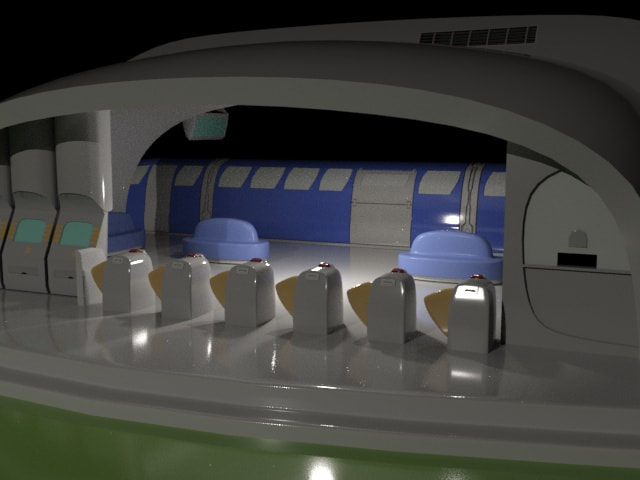 Train Station made in an Arnold Renderer
0 Comments
It's the last quarter of the year, and we have had units that are a bit compressed. But, what we learned in the first couple weeks are pretty important, Cameras are the basis of having good renders and animations. You can't just render from the perspective of the view-port, Cameras help to have a view that can be more realistic or well composed than a simple perspective. Cameras also have setting that only physical cameras have, like Depth of Field and specific camera movements. Auto Framing with the camera is good in that it can use certain angles to get a good frame. It can also be set on different frames, which is useful for spacing out frames for different camera speeds. Changing the speed can be good for having quick, snappy camera movements, or slow panning shots for a model. This is useful for any camera movement in a video render. Combined with lighting, which is linked to cameras by the fact a physical camera needs proper lighting or it makes a blown out mess. Arnold lights work especially well, since Depth of Field only works with it, and how it can properly light a scene, combined with good camera movements. Cameras are useful overall for any render, to make it look more uniform and professional. 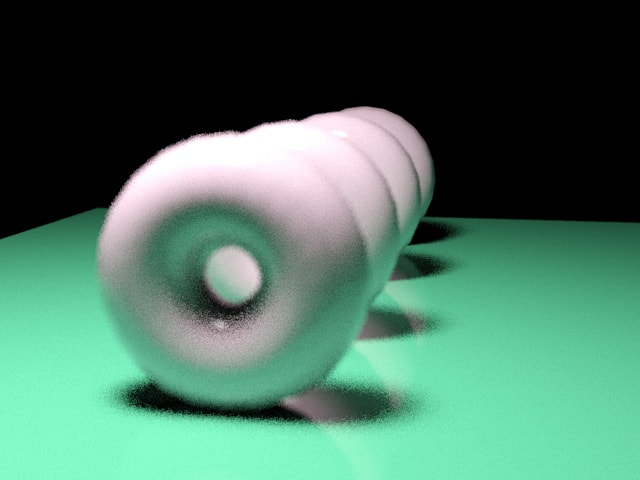 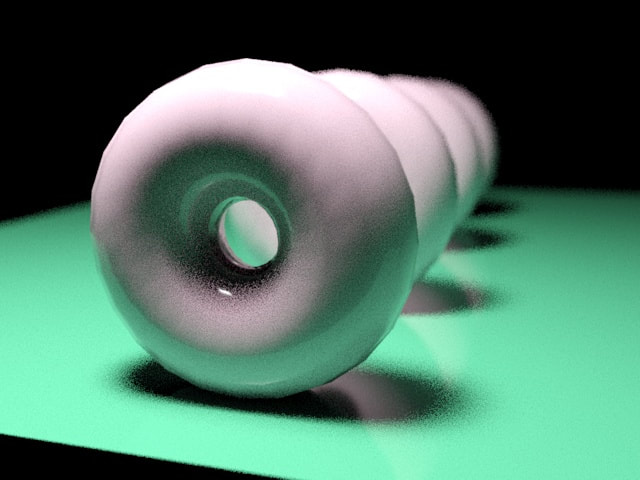 Cameras are useful for affecting the Depth of Field to put focus on a certain subject
This week back, we learned about a new unit that's a little different from previous units. The Lighting unit focuses on how a scene is affected by light, including shadows. The main part of learning about lights is realizing the types of lights used. There are spotlights, the lights that focus on shining in a cone, freely or in a specific direction, while directional lights are a straight beam to a point from another point. The other lights focus on lighting all multiple parts of a scene, Omni being the most straight-forward, by brightening all objects in a scene, akin to a light bulb. Skylight lights up an entire area, more accurately to the sun than an Omni. But Sun Positioner is for very, very specific positions of the sun. Each light has it's purpose, but the more useful ones are related to making a basic sunlight, like Omni or skylight. In some cases, a spot can make up for sunlight, but skylight just works for the most part. But, for clarity in a scene, using spots is really important. Setting up spots so they light a scene well is one of the many important roles of lighting in 3D modeling, second to making a convincing scene. We had to demonstrate this in class by little sample projects, which are ungraded but still required, which may seem like a weird idea, but it relies on primarily project grades. There are only three, and could mess up quickly, but are pretty easy for the most part. What Did We Learn This Week?
“The Standard 3-Point Lighting Technique.” Three Point Lighting, www.mediacollege.com/lighting/three-point/. “Skylight.” Autodesk Support & Learning, knowledge.autodesk.com/support/3ds-max/getting-started/caas/CloudHelp/cloudhelp/2019/ENU/3DSMax-Lighting-Shading/files/GUID-772D28D6-41C3-4C80-80AD-3774726E208F-htm.html. 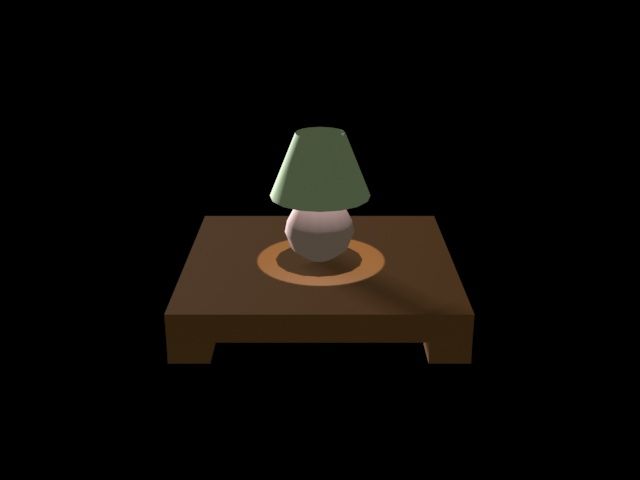 This Image Uses Three Lights, A Spot For The Directions, One in the Lamp, And A Subtle Omni To Tie It All Together
Well, the year is going to end, and we're wrapping up with a topic that is pretty different, compared to our other interfaces, 3DS Max. 3DS Max has lots of similarities to our other sofwares, like an interface, and tools. But, we use it for 3D modeling, which is pretty different from what we usually do, since there are more layers on layers of stuff we can easily mess up. Which, makes sense, 3D modeling captures space unlike most Adobe software, so it would naturally be different. But, I already talked about my experience with 3DS Max. I wanted to talk about the experience with 3DS Max. To be honest, it's a little hard. I still struggle with some topics, like textures and stuff. Not with all of the topics, lighting and sub objects, made sense, and were pretty fun in the end. But, if I had to make up my mind about 3DS Max, I would rather do some of the 2D stuff, like Photoshop, or Premiere, I really liked playing with these two, I guess Illustrator too. I'm not trying to forsake 3DS Max, I would just rather use these programs for most things. As Mr. B said, "Use the tool most suited to what you're doing," or something like that 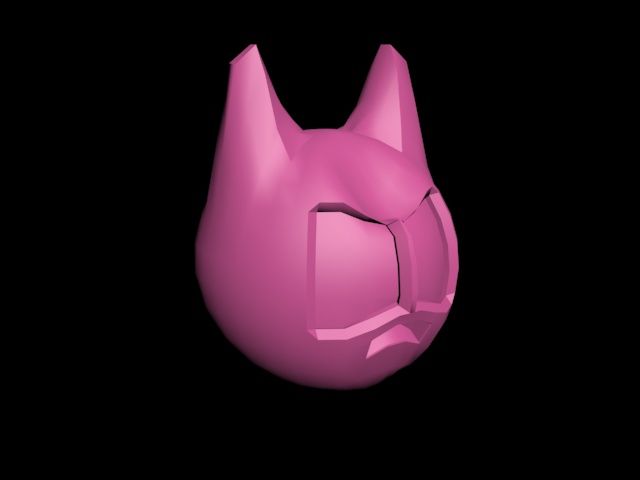 I really liked making this face, especially because it was better than the old one
|
JamesHe aspires to be a game designer, let's just hope he gets there. He also happens to goes to DSA. Categories
All
Archives
August 2021

|
